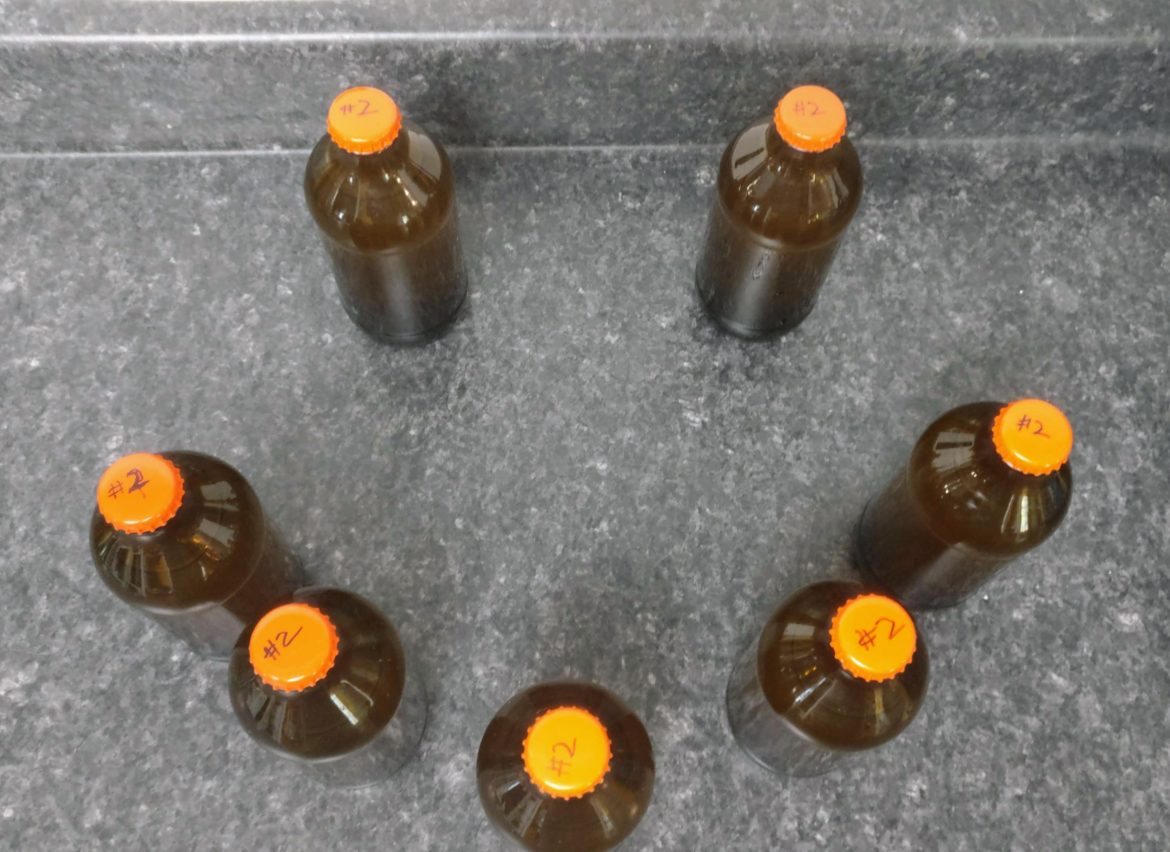
Mead #2 – All bottled up
Mead #2 from the Crockett Desert Gold honey is ready to be bottled. I’m not planning to make any carbonated mead’s yet so I won’t be talking about the carbonation process or the differences between the two types. We will save that discussion for another day.
At this point Mead #2 has been fermenting or aging for over 6 months, all of the mead’s I will be making in this first set will age for a minimum of 6 months. This is a commonly suggested length of time to wait for wines in general. Most though I just need to keep the time frame fairly even so my results won’t be tainted.
I had a finishing ABV. of about 8.14% which for a mead is a little low but if in future batches I want to raise it all I would need to do is add a bit more honey 1 pound should be good. Now it’s time to put this one in the bottle.
First we need to gather and disinfect the equipment to bottle. I’m going to show you the cheapest way I know to bottling without having to purchase much in the way of equipment. This is not my preferred method, but if you’re just starting out and don’t want to spend much on something you may only do once this is a simple way to bottle your first batch.

- 8 – 12 12oz disinfected glass bottles (not twist top)
- A funnel that will fit in the bottles
- A bottle capper
- 8 – 12 bottle caps
The bottles I’m using are from a local bottled coffee in Phoenix but feel free to have a 12 pack of your favorite beer then just clean and disinfect the bottles. If you want to start with new bottles I’ve used a set of these over and over: https://amzn.to/2FZCxKh they are basically the same bottles most craft brews come in just without the labels.

A quick reminder the most important part of all of this is keep all of your bottles and equipment disinfected. This is as simple as a couple of capfuls of bleach and some hot water. I mixed a gallon of bleach water in a spare 1 gallon fermenter and filled the bottles with the funnel disinfecting it along the way. The last thing you want is to end up with an infected mead after waiting 6 months.
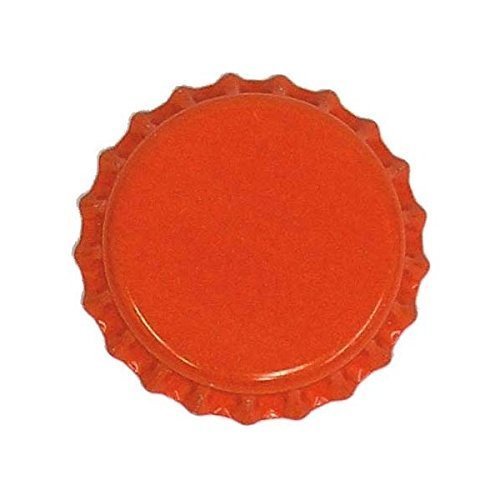
Once you’ve disinfected the bottles pour a glass of the beach water into a glass and dunk the caps you’re going to use. Speaking of which caps are probably one of the things you don’t just have just laying around. You can’t reuse the ones you’ve pried off. What you will want for most bottles are 26.5 mm pry-off crown caps, these are the one’s I’m using here: https://amzn.to/2KnXB2z. The same company makes a lot of other caps and I’ve had good luck with them.

I do want point out that though this is the cheapest way to get your mead into the bottles this is not the best for the mead or the easiest pour method. If you want to spend a few dollars I really suggest picking up an Auto-Siphon https://amzn.to/2GkQ4wj and a bottling wand https://amzn.to/2XaR8cI. Though, as shown here as long as you pour slowly and watch the level a funnel does work.

Capping is very straight forward. First you’ll need a capper this is the one I use: https://amzn.to/2Xdn7t1. It’s cheap, quick, easy to use. All you need to do is place the cap on the bottle and line up the the your capper and press it down until the handles are horizontal.

To finish the process off I suggest turning the bottles over to make sure you don’t have any leaks. Other than that you’re done. Just cap the rest and drink them as you please.
I will be putting most of these away in a dark closet until the rest of the initial set of mead’s is finished. To get a realistic take on the which honey’s produce the best product I will need to rate them. To rate a drink I really need to taste all 4 at the same time. That will be a good day.
